Showing posts with label apples. Show all posts

Monday, December 03, 2007

a hanukkah necessity

come hanukkah, applesauce is on virtually every table to serve alongside loads of latkes and then more latkes.

this is a basic recipe for a homemade sauce which takes no time at all to make and is much better than the jarred stuff often bought at the grocery store with who-knows-what preservatives included.

make your own or give some as a gift in a nice glass jar — it'll certainly be well-appreciated.


basic applesauce

ingredients:

6 apples suitable for cooking
1/4 tsp salt
1/4 - 1/3 c brown or white sugar
1 cinnamon stick, broken (optional)*
1/2 c cold water

*you can add 1/4 - 1/2 tsp ground cinnamon instead

method:

peel apples and cut in chunks.

place them in a pan or a pot which has a lid. add the rest of the ingredients.

bring to a boil and then cover and lower the heat. cook over low heat for 15 to 20 minutes, stirring as necessary. different types of apples will cook down at different times.

cook until you get the desired consistency.

for a completely smooth applesauce, once cooled down, place in a blender or processor or mill. remove the cinnamon sticks before!

enjoy!

Sunday, August 12, 2007

more, please!

i have to admit, i have a deep weakness for all baked goods such as the following european-style torte — everything about it is good, from the buttery shortbread-like crust to the sweet cream cheese filling and cinnamon apple topping accented by sliced almonds. it is also one of the simplest desserts to make, especially if you've assembled your (mis en place) ingredients the night before you bake. the apples, however, need to wait just until you make the torte.

once you've tried it, you'll see all the ingredients work wonderfully together. it's great for entertaining, a fancy meal or just because.

definitely, a keeper :)


european-style apple torte

a nice addition to your baking repertoire, this dessert looks like you've put a lot of effort into something which really takes very little. measuring out most of your ingredients beforehand saves you time and simplifies the whole process — the only tedious part is peeling and cutting (and maybe placing?) the apples. the crust is also one of the easiest you'll work with as there is absolutely no rolling involved or prebaking!

crust ingredients:

1/2 c butter, soft
1/3 c sugar
1 pkg vanilla sugar, optional
1/2 tsp vanilla
1/8 tsp salt
1 c all purpose flour

cheese layer ingredients:

1 pkg (8 oz/25o g) cream cheese, room temp.
1 tbsp lemon juice
1 tsp vanilla
1/4 c sugar
1 egg

apple layer ingredients:

2 large baking apples* (plus 1 extra, just in case)
1/3 c sugar
1/2 - 3/4 tsp cinnamon

*peaches can also be used instead; if using apples make sure they taste good and are the appropriate kind for baking (i always advise trying one before using — if they have little or no taste when eating them or the texture is mealy, chances are they'll be even less geshmak once baked and all will be for naught). i use either macintosh or cortland in this one.

**the final crust is like a shortbread due to its ingredients and manner of baking. it is baked once as a whole and patted in the pan rather than being rolled out.

1/4 c sliced almonds, opt.

you need a springform pan (8.5 inches)

method:

make the crust by creaming together the butter, vanilla, sugar and salt. mix until well blended.

add the flour and mix only until blended.

place the dough in the ungreased 8 1/2" springform pan. the dough will be soft but very workable. you can chill it for a little while, if you wish but there is really no need to.

with your fingers and hand, pat and press the dough in evenly across the bottom of the pan and up the sides about 1 1/2 inches. make sure it is even. use the length of your index finger to press into the inner edge so that it is not too thick between the bottom of the crust and the walls of it.

set aside.

make the cheese filling by mixing everything together in a medium sized bowl.

mix for about 2 or 3 minutes. it needs to be perfectly smooth and not grainy. this is why it is important to have the cream cheese at room temperature.

place the cheese filling in the unbaked crust.

smooth it all around. place aside.

preheat the oven to 450F at this point.

peel and slice the apples into 1/8" slices. it's important to cut them to the right thickness as the texture will be too chunky if they are thicker and you won't have enough apple slices

now the "hard" part: placement of the apples. there are two ways to do it — the "G-d give me patience" way or the lazy laissez-faire way of gently dumping, errr... placing, the apples over the filling without any definite pattern.

getting the apples to layer perfectly is a skill best learned through practice; it also requires patience as the apples don't always like to participate. so if you don't care or don't have patience, opt for method 2.

to layer the apples, it is done in 3 stages:

layer 1:

place the apples around the outer perimeter carefully, taking your time. when you get to the first apple you layered, lift it to add the last one.


layer 2:

repeat layer 1

layer 3:

you will only need a few apples for this one and it is the most difficult. play around with it a bit to make it look neat and presentable. (don't stress as it will be partially covered by the next step and covered in almonds, if using).

now mix the sugar and cinnamon together.

with a spoon, distribute the mixture evenly all over the apples.

at this point, you spread the almonds evenly over the apples. you can skip this if you like but it does add texture and taste.

bake for 10 minutes only @ 450 F and then reduce the heat right away to 400 F and cook for another 25 minutes.

remove and let cool completely.

gently run a knife around the cooled torte and release the spring siding.

let the torte sit several hours in the fridge for it to firm up properly. it is not ready to eat right after baking. best served slightly cold or at room temperature.

dust with confectioners sugar if you like or serve with whipped cream dollops.


enjoy!

Friday, November 03, 2006

candy apples


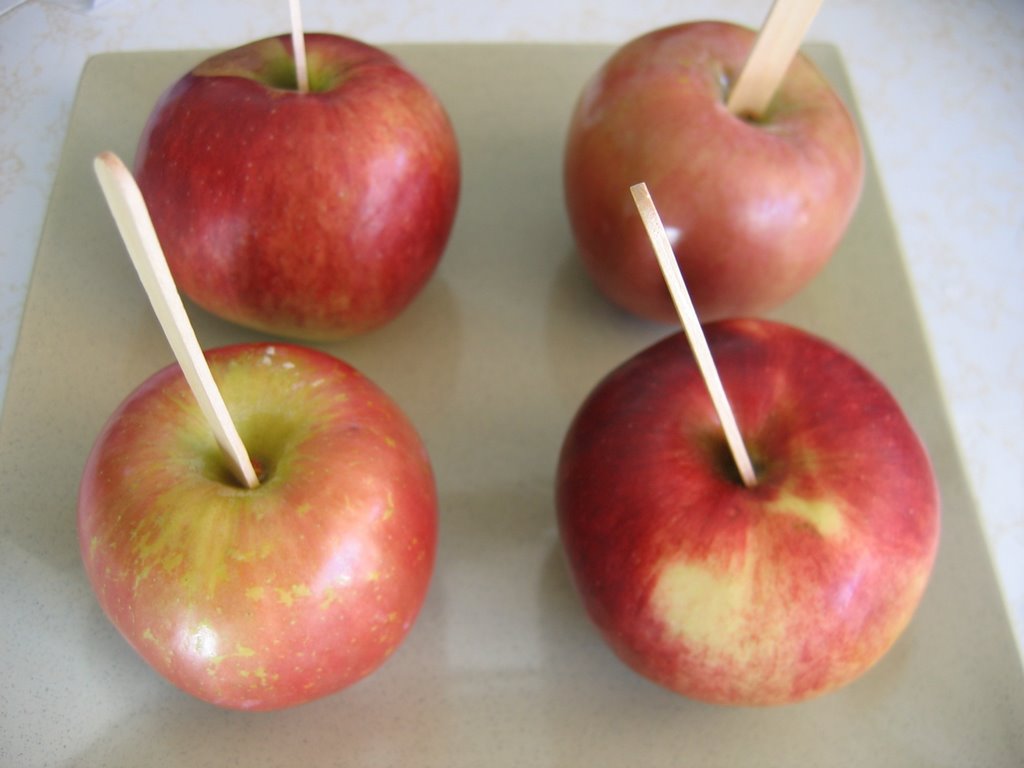
this fun confection is usually seen around the time of hallowe'en here in north america. i fondly remember our neighbour making tons of them and being excited that i was going to be the recipient of one of these beautiful, shiny red candy apples.

these apples are also called toffee apples in britain, which is what our neighbour used to call them. you will often also see these at fairs and amusement parks lined up, some plain and some elaborately decorated with all sorts of little candies or nuts. it is funny as i have known very few kids to be able to finish a whole one to themselves. once the apple is bitten into, it's usually a done-deal. you can't exactly save it for later, especially since the juices of the apple soon degrade the sugary coating. it is always fun to watch a kid at a fairground trying to make the first bite through the hard coating.

candy apples can be made in two ways. one is with a simple sugar syrup dyed red and the other way with caramel[s].

i usually make these around rosh hashanah when it is traditional to have apples dipped in honey and all things sweet. why not, since i don't really celebrate hallowe'en. whenever i make these however, they are always given away. it's not the kind of thing you are going to eat more than one of yourself.

one thing i have learned in my experiences making these apples is that using a smaller apple is best. often with a large apple it eventually get thrown away only half-eaten. another thing is that the apples must be completely blemish & bruise free as well as being completely dry. any water and it may ruin the whole process. humidity in the kitchen is a big no-no, too. make sure the day you make these that your kitchen is dry.

things to note before starting:

• keep a bowl of ice water near you when you work with molten sugar;
• keep them in a very dry place to store; will keep for about 2 days if necessary;
• decorate immediately;
• use apples that are small and good for eating, i.e. sweet & very crisp;
• obviously best eaten the day they are made; you can wrap these in clear cellophane.


so without further ado, here is the recipe. note that i only make half the recipe so if you want more, you need to double the ingredients.

{please note that for some odd reason when photographing the finished apples, the lighting somehow managed to add what looks like odd triangular gaps on the apples in the first photo. don't worry, the apples were perfect as will be yours!}

red candy apples

ingredients


4 - 5 small crisp eating apples
sticks, such as popsicle

candy thermometer

1 1/2 c granulated sugar
1/4 c white corn syrup
several drops red food dye, or as much as you want
1/2 c water

decorations or chopped nuts, optional

method

wash apples and dry thoroughly. carefully insert sticks into apples and set aside. clean any apple juices that ooze out from the insertion point with a kleenex before dipping.


either grease a cookie sheet with margarine or butter or place a silpat mat or parchment paper on on a cookie sheet.

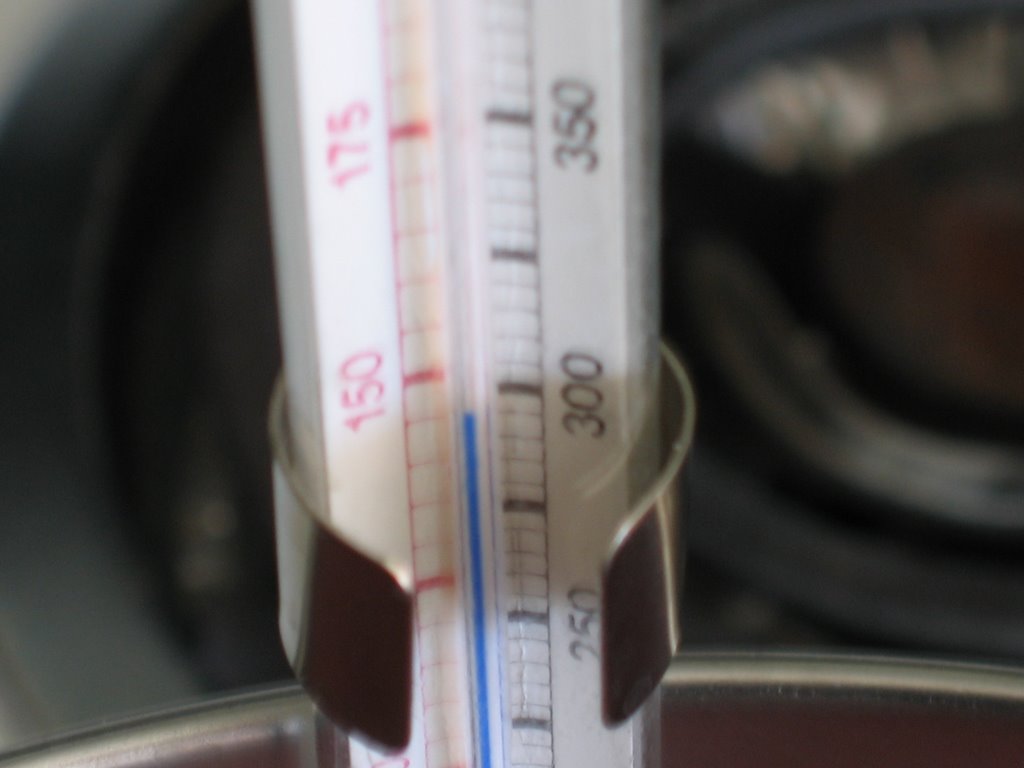
place all of the remaining ingredients in a tall sided pot over medium heat with the thermometer attached to the side of the pot. stir the sugar ingredients until dissolved. scrape the sides of the pot so no sugar is on the sides. this is important. once the sugar has melted let this boil until it reaches 300 F. DO NOT STIR or you will seed it and it will be ruined.

with the bowl of ice water beside you in case you need to plunge a hand or finger in, take one of the apples by the stick and plunge it in and swirl to coat the apple all over. make sure it is well coated. let it drip briefly to lose excess sugar. place this on the cookie sheet or plunge into your decorations and then on sheet. repeat with others.

if the sugar starts to get too thick to dip, place it back on the stove on low heat.

as i hate waste [G-d forbid sugar!], you can pour the rest of the syrup on a parchment and let it dry and then break it into pieces to either eat or use in some other way. another idea would be to use little molds to make bright red lollipops.


enjoy!

here are some other links to read more and find some different recipes:

here


and if you want two more recipes for caramel apples, here you go.

Tuesday, October 10, 2006

an autumn dessert

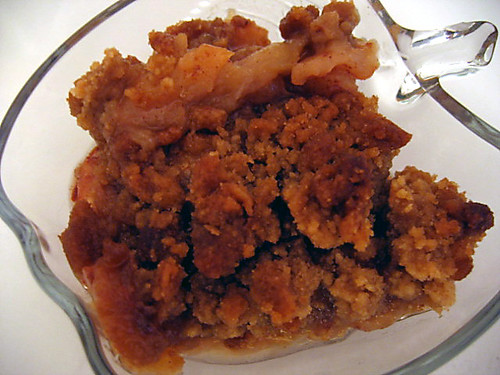
one sweet thing i have always loved is the understated apple crisp. while it may not have the same status as a gorgeous fluted edge buttery-crusted apple pie, it always disappears quickly with no problems.


the version i am offering here is one which combines two of my favourite fruit: the apple & the pear. if you don't like pears, problem solved: replace the pears with more apples.


autumn apple-pear crisp

ingredients:

4 - 5 large cooking apples
2 - 3 large, firm but ripe bartlett pears [or similar]
1 tsp cinnamon
1 tbsp flour

1 c AP flour
1 1/2 c brown sugar, packed
3/4 c margarine or butter

method:

preheat oven to 375 F then 350 F

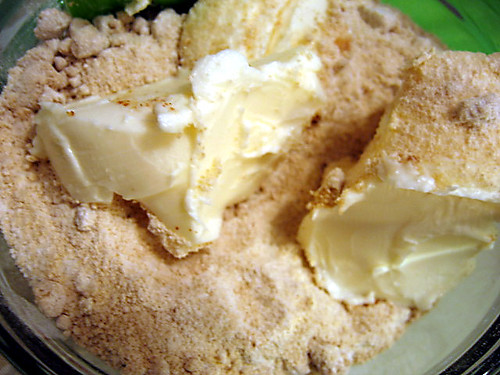
in one large bowl combine the flour, sugar & margarine or butter. mix well to form crumbs and set aside or refrigerate while preparing fruit.


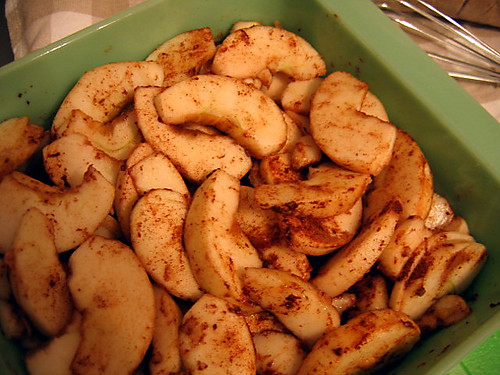
peel the fruit and then cut in slices. you may acidulate the fruit with a tablespoon of lemon juice once in the bowl; i do not. place these in a large bowl and mix with the cinnamon & tablespoon of flour. transfer the mixed fruit to an 8 x 8 ovenproof dish.


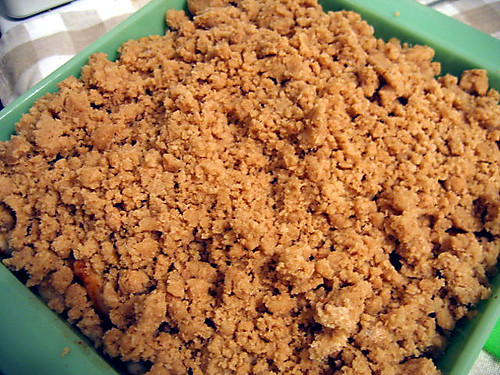
sprinkle the topping evenly over the fruit and bake for approximately 40 - 50 minutes. bake first 25 minutes at 375 then lower to 350 for remainder of time.


let cool and serve. be forewarned, it is sweet. and addictive.

note: i believe the higher amount of sugar and initial higher baking temperature also help the topping remain crunchy even after a few days in the fridge. i am sure you can reduce the amount of sugar by at least 1/4 c, if you like.

Friday, September 15, 2006

it's your 40th birthday — september 15

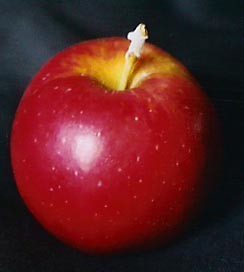
happy birthday, empire apple.

the empire is said to be the most successful apple variety ever released by the New York State Agricultural Experiment Station.

the empire originated from the cross between a mcintosh and a red delicious in 1945 by the open-pollination of seeds collected by Lester C. Anderson, a Cornell fruit nutritionist. Anderson used his own orchards in the Hudson Valley for research.

did you know?
there are over 7000 varieties of apples, but only about 100 are grown in north america. in canada itself, these five varieties usually make up about 75% of production: McIntosh, Red Delicious, Spartan, Empire and Idared.

other varieties:

Common Apple Varieties Grown in Canada

Braeburn: Medium to large, round to round conic, yellowish to cream, very juicy, crisp, somewhat coarse. Used for fresh eating, desserts and juices. Available at the end of October.

Cortland: Medium to large, round to round conic, striped or blushed red. Flesh is white, sub-acid and non-browning. Excellent for fresh eating, salads and sauce. Good for pies, baking and freezing. Available early October to May. Great in salads because they stay white longer!

Empire: Medium to medium small, round to oblong, blushed dark red. Flesh is greenish cream, slightly aromatic and sub-acid. Empire apples, known as excellent fresh eating apples, are available from mid-October to June.

Fuji: Medium size, round-conic, white, juicy, fine, crisp flesh both sweet and tart. Good for fresh eating and desserts. Availability: early November.

Gala: Medium size, yellow-red. Flesh is creamy yellow, crisp, mild juicy flavour. Good for fresh eating and salads. Available in September.

Golden Delicious: Yellow skin; elongated shape, 5 bumps on bottom; yellowish flesh; tart to sweet taste; firm, keeps shape when cooked. Good for fresh eating, pies, baked, sauces. Availability: Oct.-Jan. Golden Russet: Medium or small, globular; golden brown, with roughened skin due to russeting. Good for fresh eating, pies, baked, sauces. Availability: Oct. - Jan.

Gravenstein: Medium to large, round, red blushed with yellow background. Flesh is cream, juicy and tart. Excellent for fresh eating, sauce and freezing. Good for salads and baking. Available mid-September to December.

Greening: Large, irregular globular; bright green turning yellow. Used for fresh eating and commercial processing (juice, etc). Availability: Nov.-Feb.

Idared: Medium to large, round oblong, blushed red. Flesh is cream, firm and sub-acid after storage. Excellent for pies and baking. Good for fresh eating, salads, sauce and freezing. Available November to July; primarily February to July.

Jerseymac: Medium to large, red with green patches. Used for fresh eating. Availability: Aug.-Sept.

Lobo: Large, irregular globular; yellow-green with red stripes. Used for fresh eating. Availability: Sept.-Oct.

McIntosh: Green skin with a heavy red cheek on one side; white flesh; mildly tart to sweet as ripened; firm. Used for fresh eating, pies, salads, sauces. Availability: mid-Sept. - April. The perfect apple for a snack!

Melba: Medium, irregular globular; red streaked with yellow. Used for fresh eating. Availability: Aug.-Sept.

Mutsu (Crispin): Large, oblong; green to yellowish-green. Suitable for fresh eating, cooking and commercial processing. Availability: Oct.-Mar.

Newtown: Medium, irregular globular; green tinged with yellow. Suitable for fresh eating, cooking and commercial processing. Availability: Jan.-June. Holds its shape well when poached or baked in a pie!

Northern Spy: Large, globular; bright red striped blushed with green. Used for fresh eating, cooking and commercial processing. Suitable for fresh eating, cooking and processing. Availability: Dec.-June.

Paulared: Medium, globular slightly oblong; dark red. Used for fresh eating. Availability: Sept.-Oct.

Red Delicious: Small to large conic, striped or blushed red. Flesh is greenish cream, juicy and sweet. Red Delicious apples' sweet taste makes them excellent for fresh eating. They are available from mid-October through to August.

Rome Beauty: Large, round; red striped with pin dots. It has a mild flavour and is good for fresh eating and cooking. Availability: Dec.-Mar.

Scotia: Medium, irregular; dark red, resembles Mclntosh. Used for fresh eating. Availability: Sept.-Oct.

Spartan: Medium, round, red blushed. Flesh is cream, crisp, lightly aromatic and sub-aid. Spartans are considered good for fresh eating, salads and sauce. They are available from mid-October through to May.

Tydeman's Red: Large, globular; solid dark red blush over faint stripes. Used for fresh eating and cooking. Availability: Aug.-Sept.

Vista Bella: Medium, globular; dark red blush. Used for fresh eating. Availability: Aug.

Winesap: Medium, globular; deep red with yellow splashes and white pin dots. Used for fresh eating, cooking and processing. Availability: Dec.-June.

for more information [and pictures of varieties] go to canada apple online.

i am glad that they are soon becoming available as rosh hashanah is soon here. apples are associated with & used in great amounts for this particular holiday, and empires are great apples to use. they have the best qualities both apples [mcintosh & red delicious] can offer — juicy, crisp & crunchy — and are great for eating as well as making cakes, pies & apple sauce (refer to the aforementioned link).

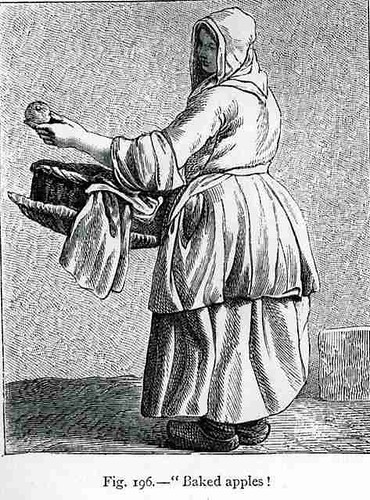
picture: costumes.org

One of my most remembered desserts is the understated baked apple — a common jewish dessert item after a meal including meat. this recipe is from Gourmet Magazine and is very good. it is different in that it is sliced horizontally and then reassembled before stuffing and baking.

BAKED APPLE(S)

Active time: 15 min; Start to finish: 1 hr.

1 small apple (1/4 lb) such as Empire, McIntosh, or Gala
1 teaspoon fresh lemon juice
1 tablespoon pareve margarine or unsalted butter, melted
2 tablespoons apricot jam
2 tablespoons brandy
1 teaspoon packed light brown sugar
1/8 teaspoon ground allspice
1 (3-inch) cinnamon stick

Put oven rack in middle position and preheat to 450°F.

Peel and core apple, leaving it whole, then turn it on its side and slice into 1/4-inch-thick rounds. Reassemble to form a whole apple and brush with some of lemon juice. Put apple into a shallow 4-inch round or oval baking dish.

Stir together butter, jam, brandy, brown sugar, allspice, and remaining lemon juice in a small bowl. Spoon 2 teaspoons of mixture into core of apple. Pour rest of mixture over outside of apple and bake, basting once or twice, 25 minutes.

Reduce oven temperature to 350°F, then insert cinnamon stick into core of apple and bake, basting frequently, until apple is tender and well browned and juices are thick and syrupy, about 20 minutes more.

Makes 1 serving.
source: Gourmet — September 2003